Murals have been around almost since the beginning of humanity. Cave painting shows the human need for expression since prehistoric times. Murals communicate messages, tell stories, and convey emotions. They have evolved into a branch of art. In this article, I will explain my process when painting a mural.
Before taking any step, I first study the surface. I determine if any repairs are necessary. I can fix simple things and look for a professional for more extensive repairs. The type of surface determines the primer I should apply. When in doubt, I go to Sherwin Williams, who are experts. The location determines whether I use exterior or interior paint and the final protective layer.
MATERIALS:
- Primer: Base paint that evens out the background and helps adhere the paint to the surface.
- Rollers to apply primer and to paint long extensions.
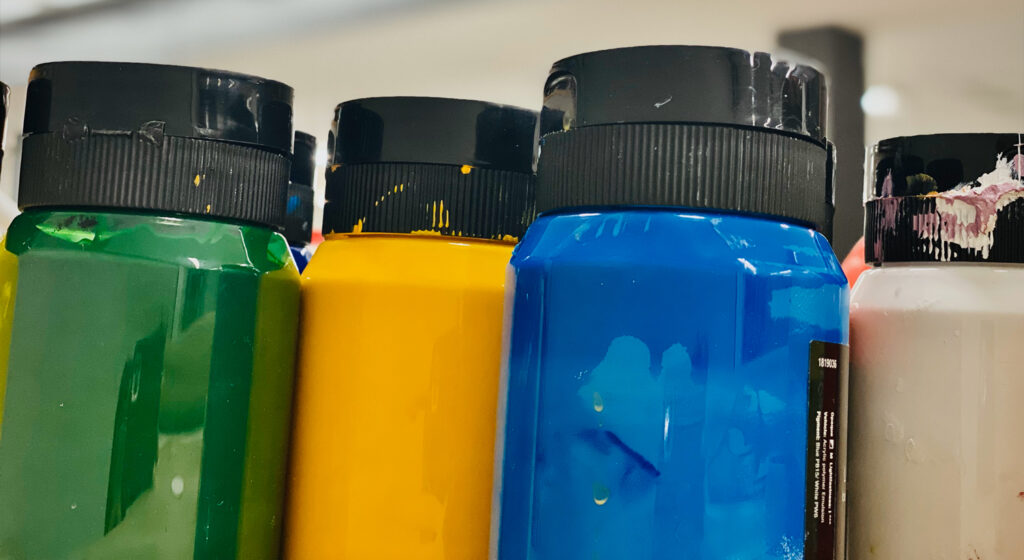
- Artist-grade acrylic paint.
- Brushes: I like to have different sizes and shapes on hand.
- Reference: This can be your creation or a photo.
- Plastic or paper cover: I use this to protect the surroundings.
- Adhesive tape: I delimit the area with painter’s tape. I also use it to secure the cover where necessary.
- Watercolor pencils, chalk, or charcoal: I use them to mark the grid and to outline the design.
- Containers with lids: Convenient for mixing large quantities of paint and storing the leftovers.
- Big container with plenty of water to rinse.
- Protective coating.
PROCESS:

- Whether indoors or outdoors, my first step is to limit the edges of the mural with masking tape.
- I protect the floor, furniture, or any other element that could be affected if paint falls or splashes.
- I clean the surface by removing all dust.
- I apply the primer. I try to make it the color that predominates in the composition.
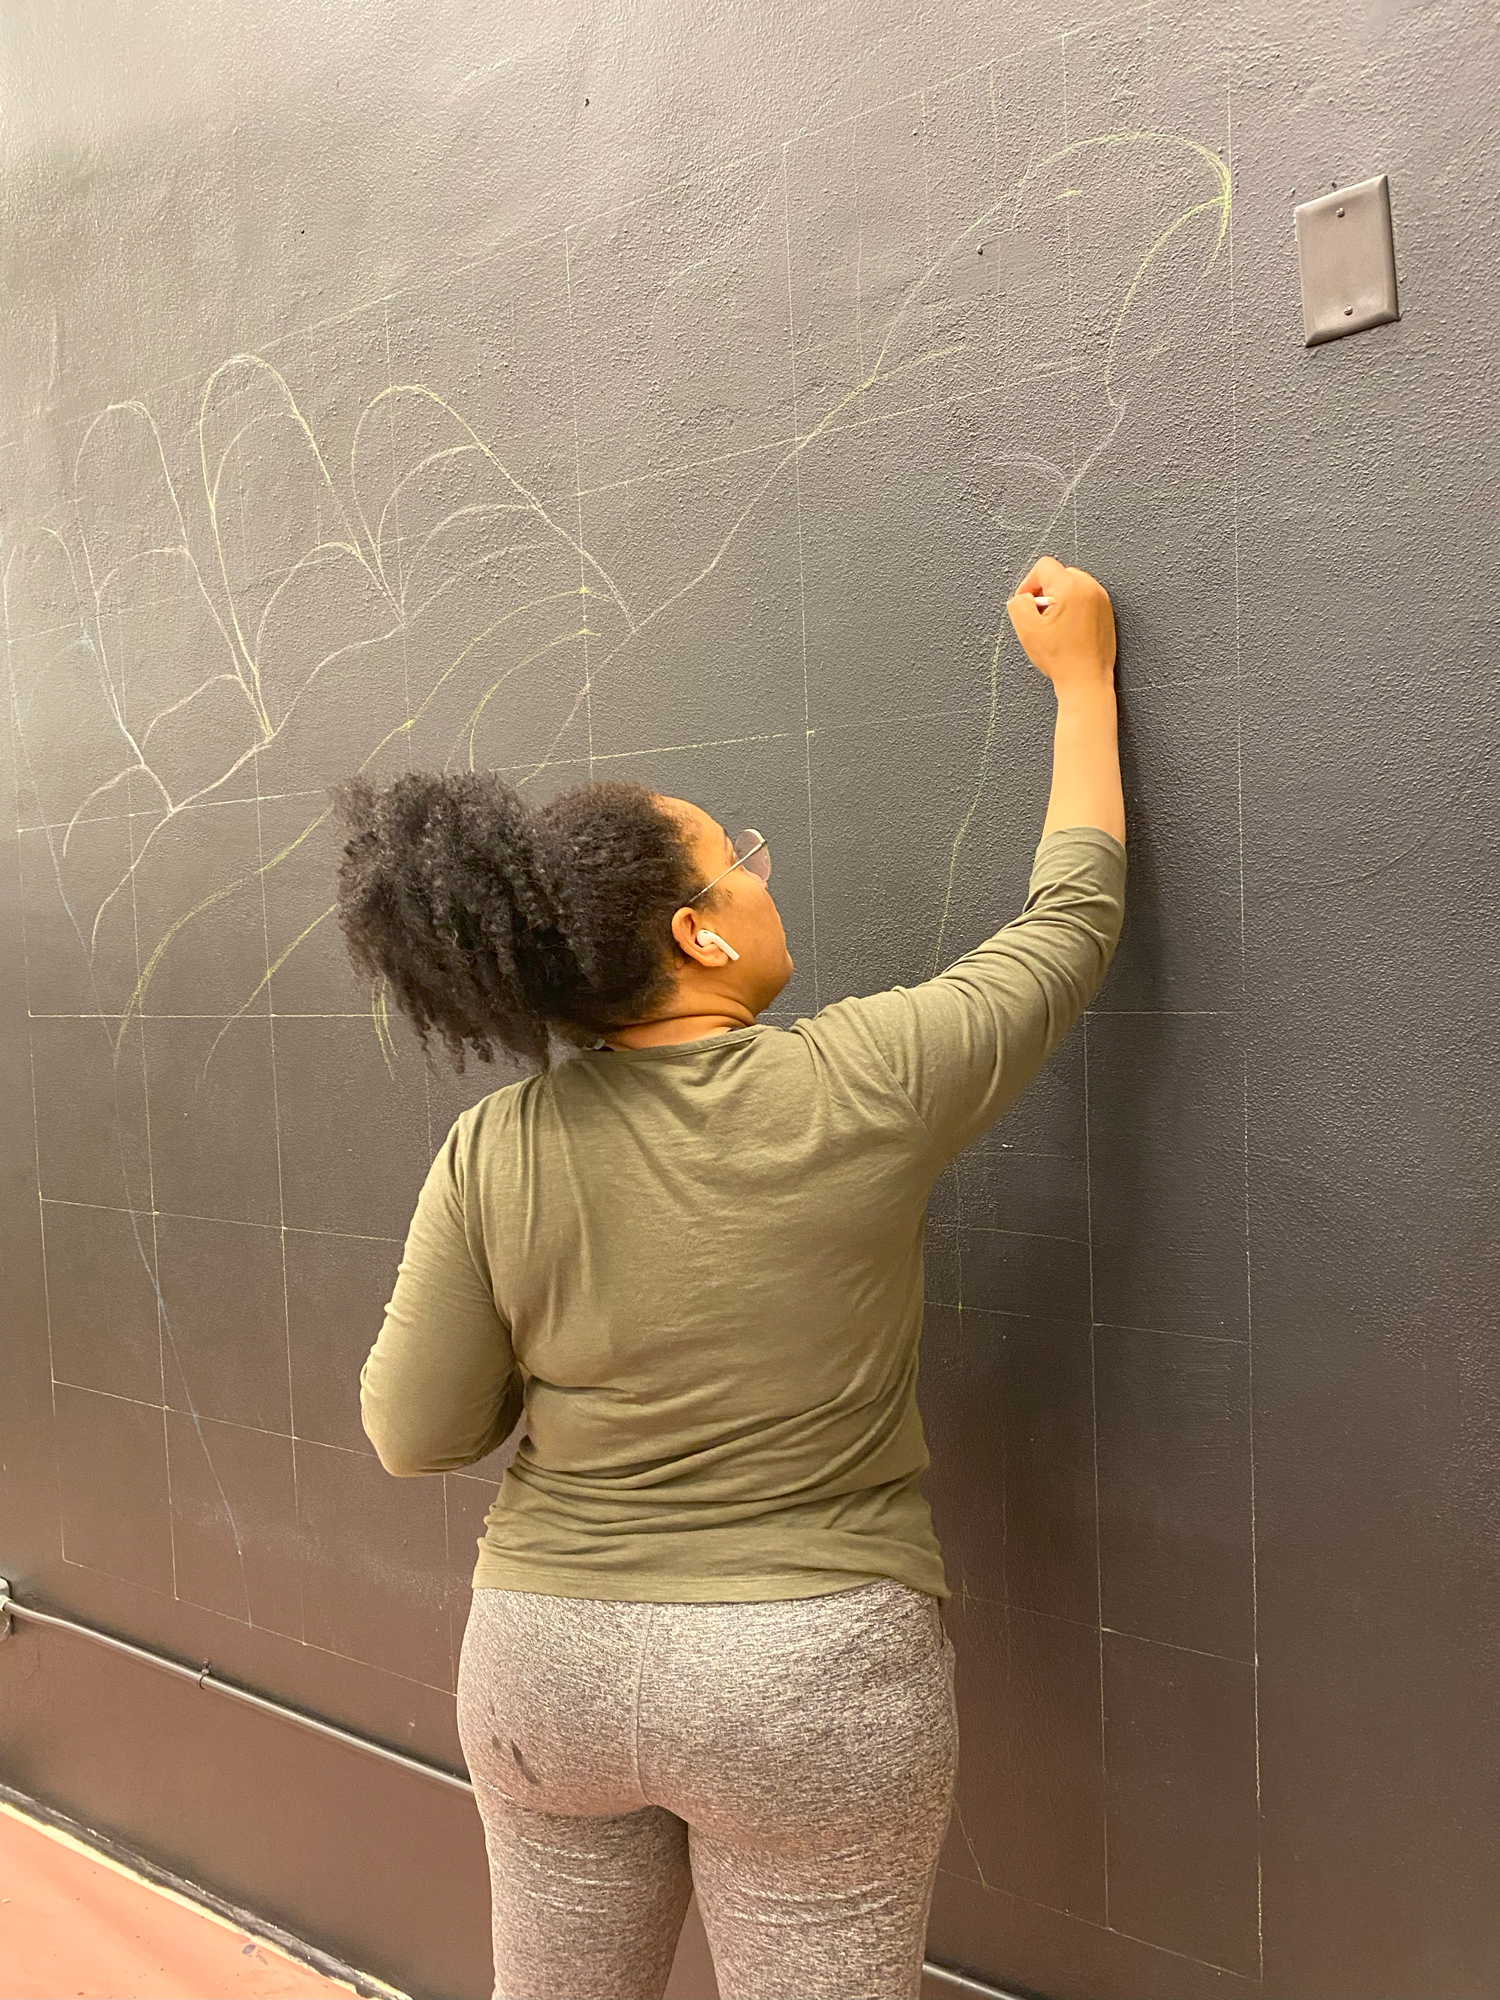
- With chalk or charcoal, I mark a grid proportional to the one I put in the reference.
- I use watercolor pencils because they wash as I apply the paint.
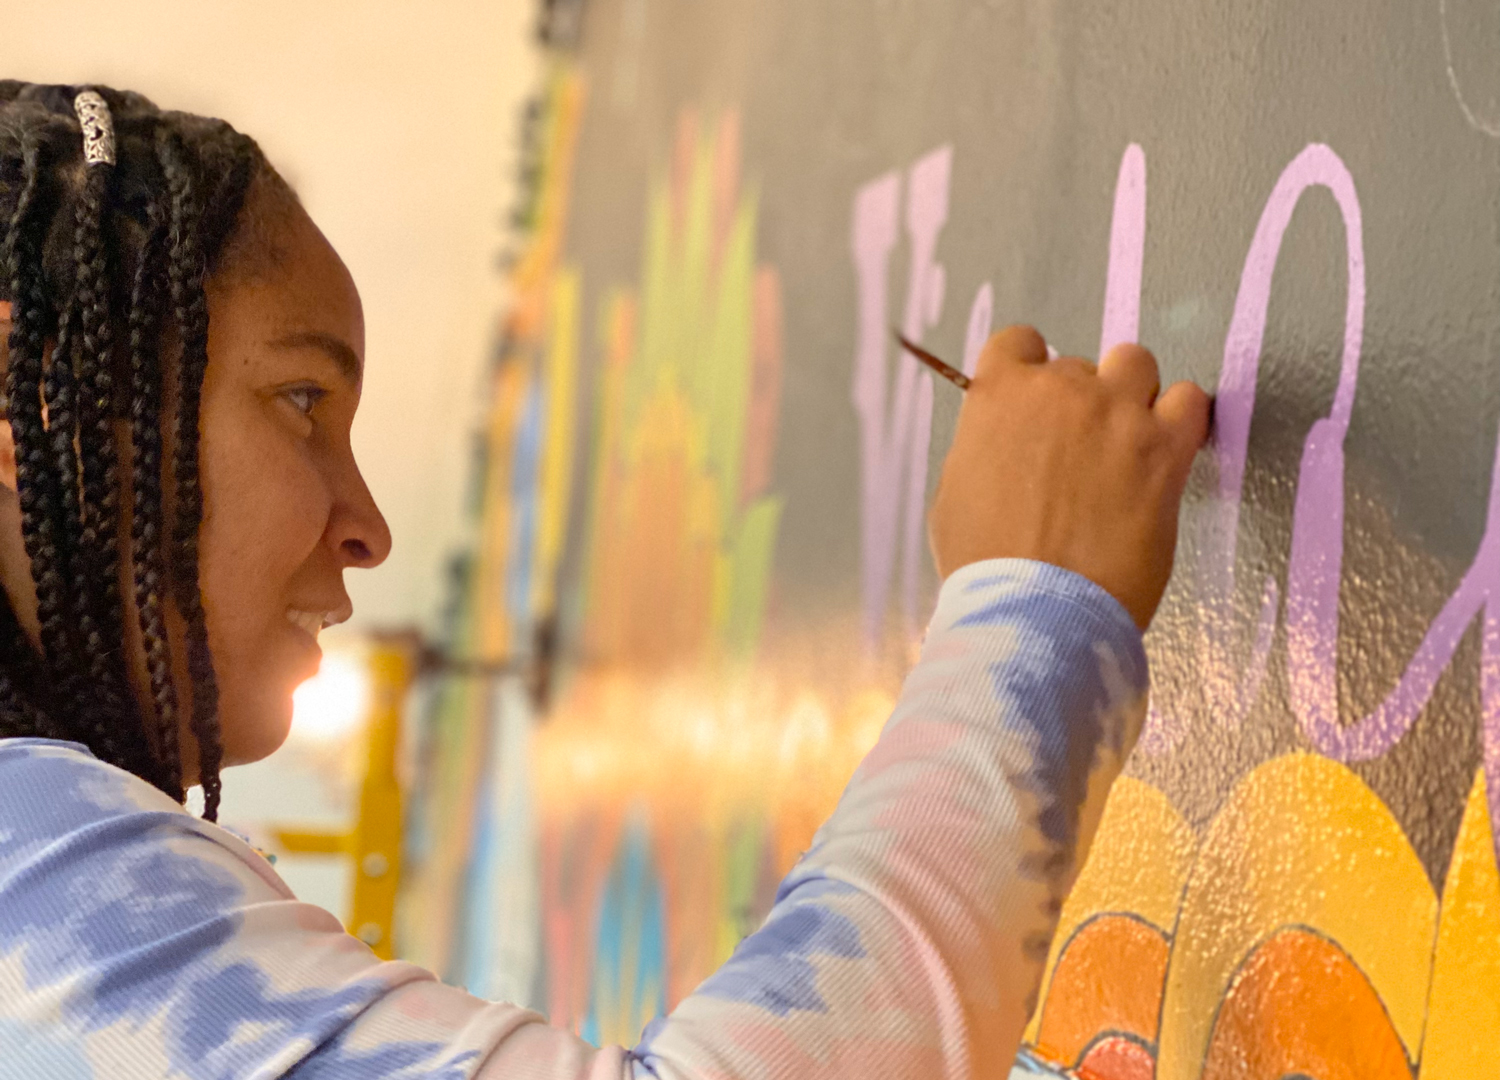
- I apply the color. This is the fun part for me.
- I apply a protective layer after I finish with the color. It prevents the mural from getting dirty. I always include UV protection to prevent the drawing from fading over time. I also use Anti-graffiti protection, even if it seems unlikely to happen.
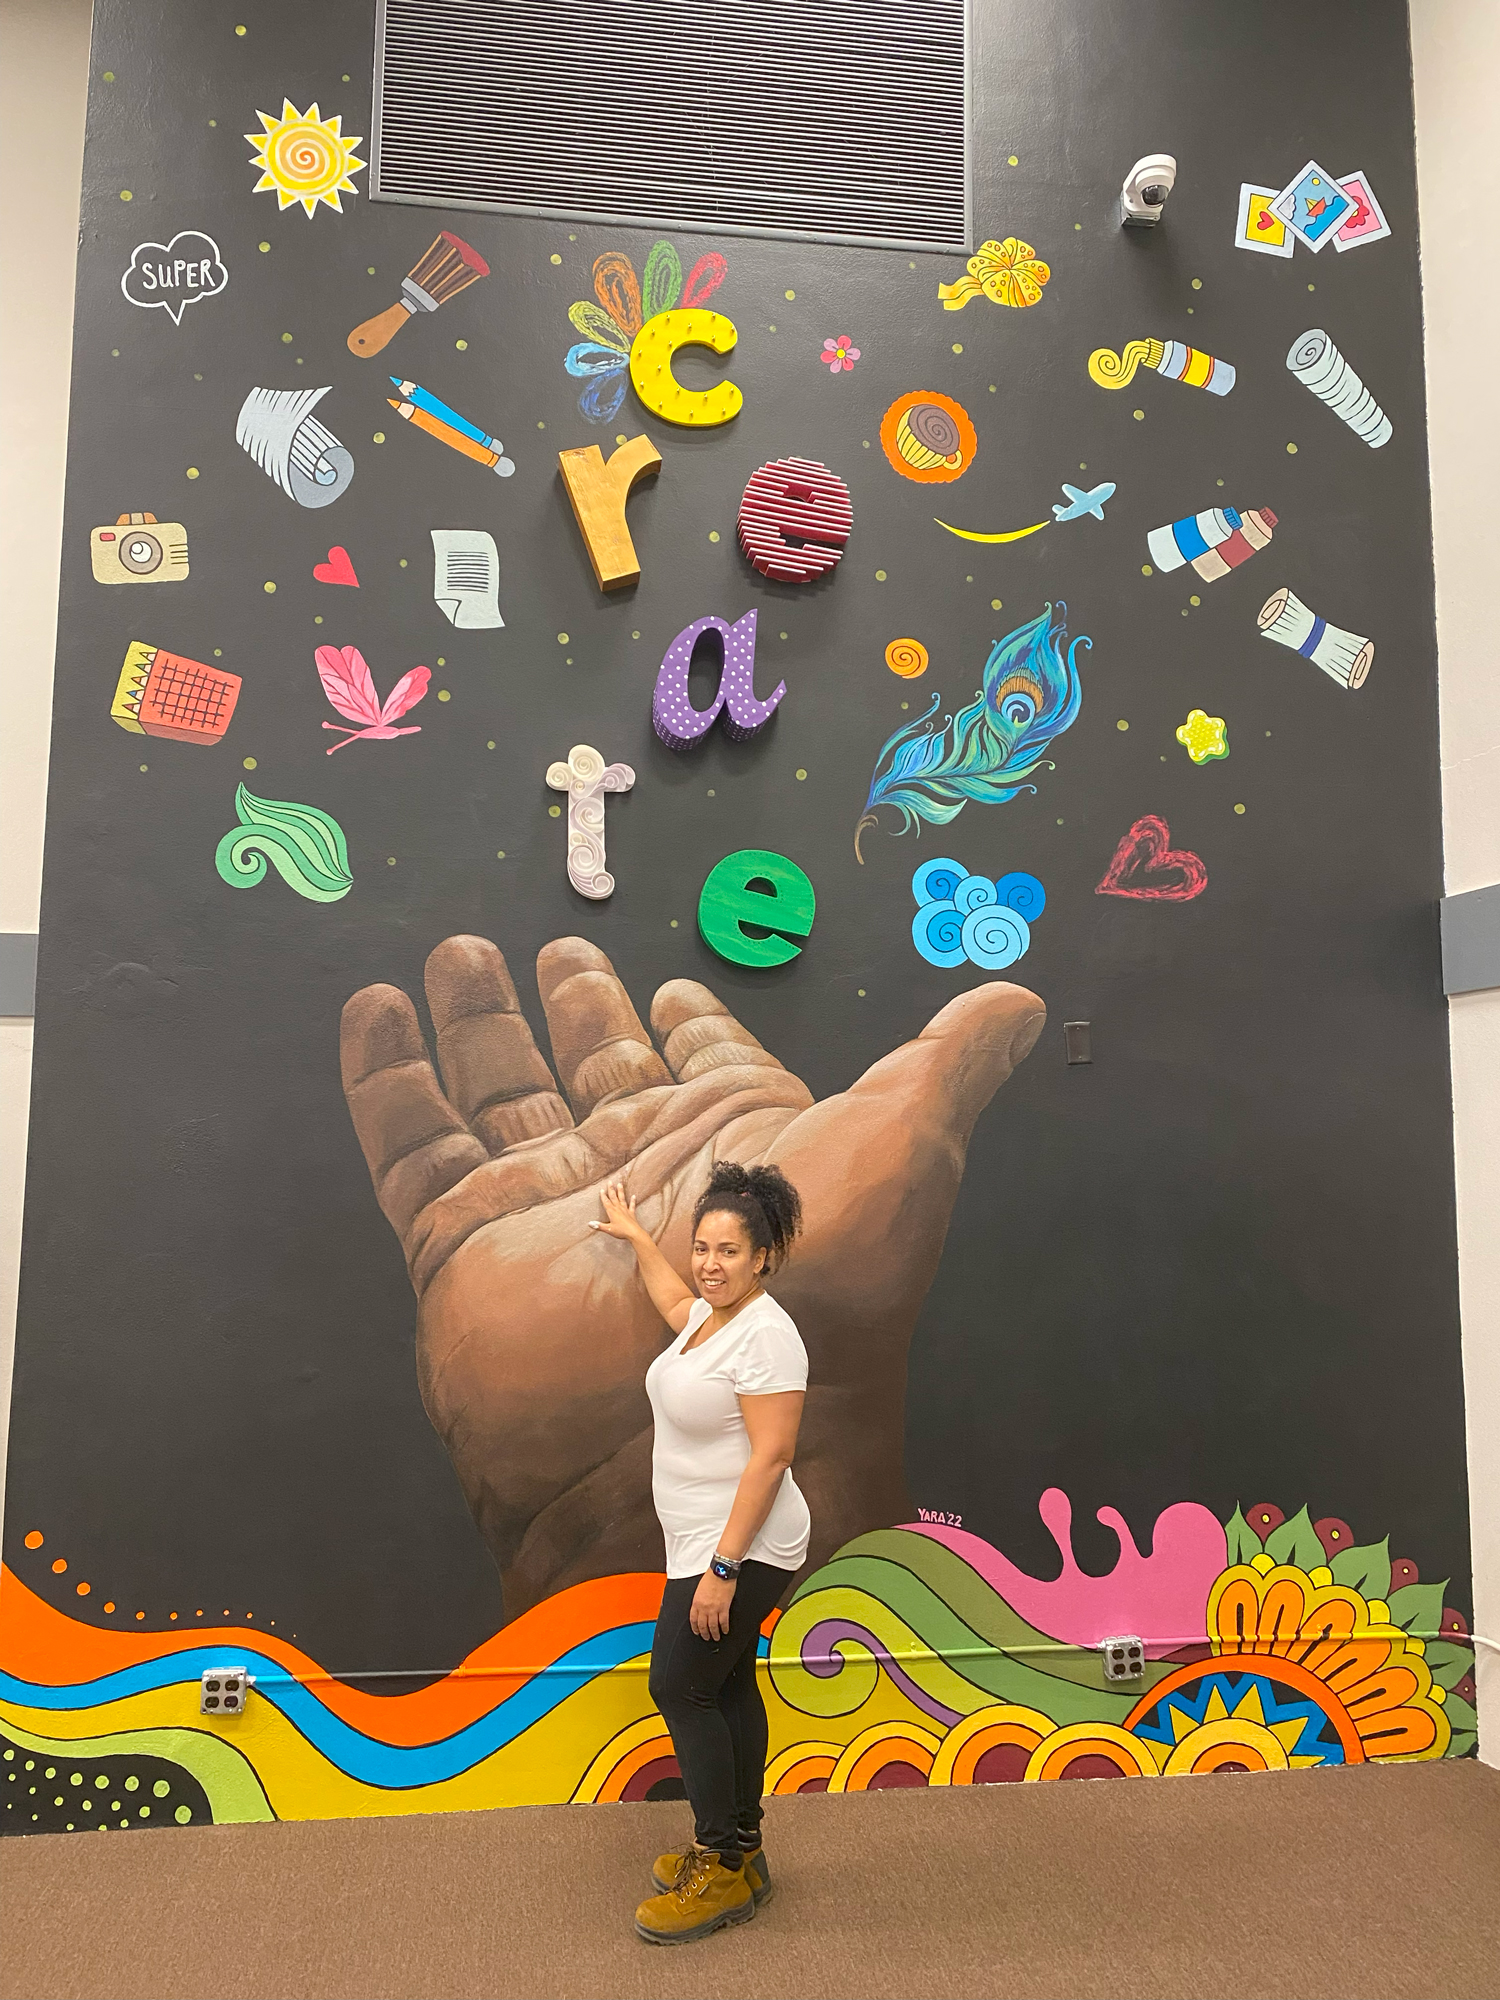
- The last step is to collect and clean. When I work for a client, the space must be as clean and tidy as before starting the project. As a personal ritual, last thing I do is to remove the masking tape that delimits the mural because of the satisfaction of the perfectly defined line that tells me my mural is ready.
How long it takes to paint a mural depends on complexity, location, and access to the wall.
No matter where you are in your development as an artist, painting a mural can be a liberating and growing experience. I consider each project unique, and I learn from each one.

RESOURCES
The following are good resources I used when I was learning. I keep coming back to refresh my knowledge and learn what is new in the world of murals.
· Liquitex: Light lightfastness
· Liquitex: Product compatibility
Leave a Reply to A WordPress Commenter Cancel reply